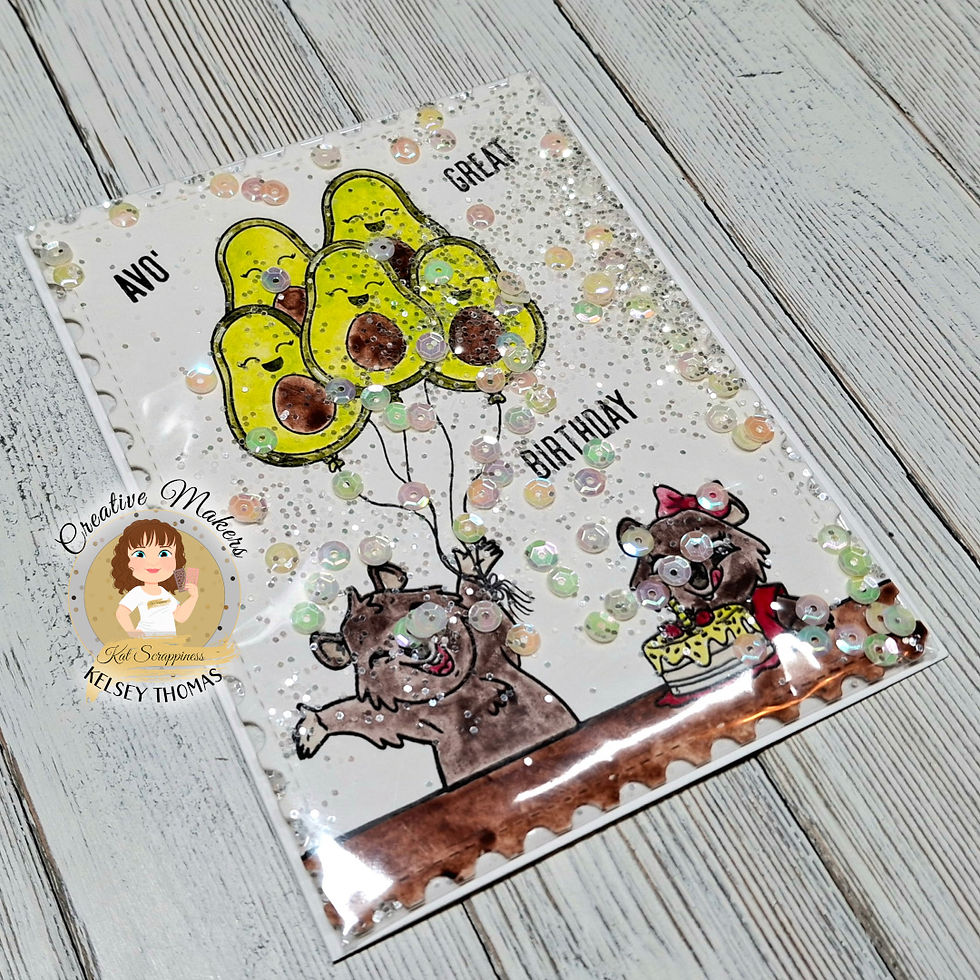
August Birthday Bash #29 - Kat Scrappiness Birthday Quokka + You Guac My World
- Kelsey Thomas

- Aug 29, 2025
- 2 min read
Hello!
I am back for day 29 of my August #birthdaycardbash challenge. I used products from Kat Scrappiness for today's card.

I started by die cutting a piece of Bee Inspired Watercolor Paper using the Kat Scrappiness Stitched Postage Stamp Edge Rectangle dies and my Sizzix Big Shot and magic mat.
I then used my MISTI and Altenew Obsidian Pigment Ink to stamp my scene. I started by stamping the quokkas from the Kat Scrappiness Birthday Quokka stamp set. I then used a T square ruler and a black 05 Kingart Inkline pen to draw a line to create a table top.
I then started on my cluster of avocado balloons. I chose one of the avocados from the Kat Scrappiness You Guac My World stamp set and stamped it on my card. I then used low tack tape to create a mask so that I could add more balloons. I cut around the mask with my scissors and masked off the avocado. I stamped two more avocados around it, created masks for them as well, and then stamped the last two balloons. I also stamped the sentiment from the same set using an acrylic block. I removed the masks and let the ink dry before moving on to the next step.

After the ink dried, I used the same Kingart Inkline pen to draw balloon strings and then I used a number 2 round brush and Grabie watercolor paints to paint my birthday scene. Specific colors are below:
Table: Syrup
Quokka bodies: Dark Chocolate
Quokka ears/paws: Macaron Khaki
Quokka nose: black
Quokka tongues/mouth: Rubine Red
Avocado Skin: Moss
Avocado Flesh: Lime
Avocado Pits: Syrup
Cake plate: Rubine Red
Cake frosting: Macaron Ecru
Cake Drizzle: Lime
Strawberries: Rubine Red
Candle: Lime
Flame: Banana
Bow/dress: Rubine Red
Once the paint dried, I added some highlights to the balloons using a white Gelly Roll pen.
To create a full front shaker card, I cut down a piece of stamp packaging a little larger than my die cut panel. I then flipped the panel over and added some 1/8" score tape around all 4 edges, making sure to not leave any gaps. I then placed the panel face down on top of the packaging, removed the release paper from three sides, and folded the edges of the plastic over. I filled the shaker with chunky iridescent glitter and some iridescent sequins from my stash. I then removed the last piece of release paper and folded the last side over.
To finish the card, I glued the shaker panel to a white A2 card base using Art Glitter Glue.
That's it! I hope you enjoyed the card and are inspired to create.
I also want to invite you to join me in my #cardmakingchallenge over on my Facebook page. See the pinned post at the top of my page.

Happy crafting!
Kelsey
*Affiliate links are provided, when available, at no additional cost to you. Thank you for supporting these small businesses and my crafting. I appreciate it!
**Other products used:
Storage pouches for clear stamps/dies
Magnetic sheets for dies
Fridge bins for stamp/die storage


Comments